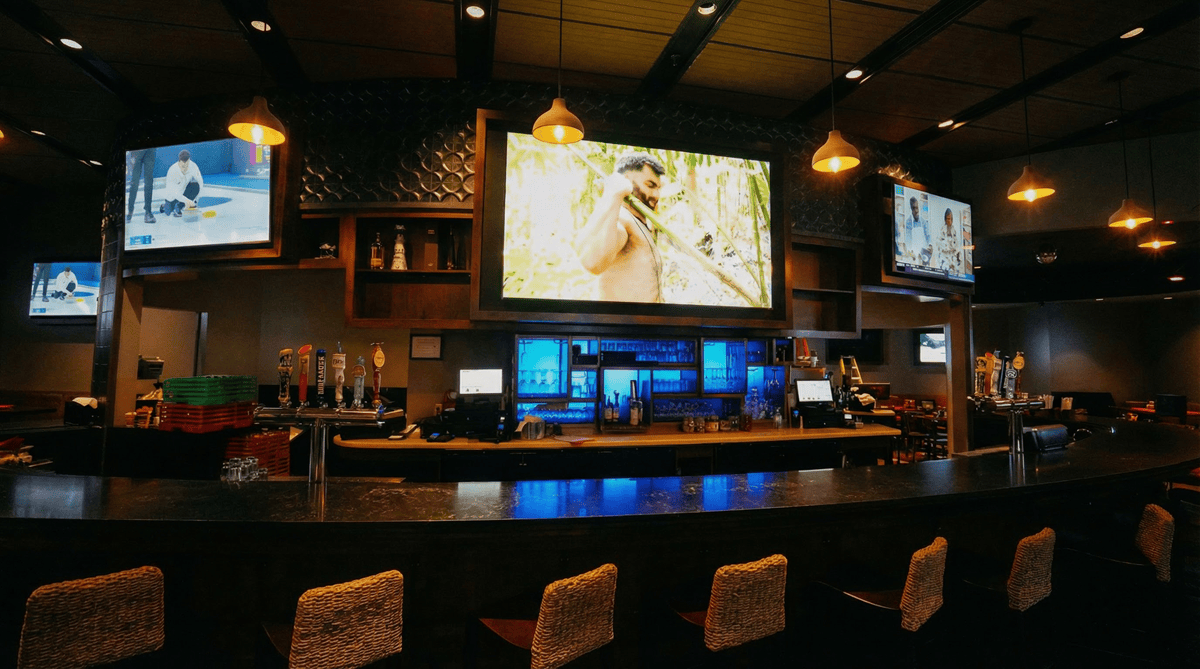
The most critical component of a professional AV build is the one your clients and employees will likely never see.
A 98-inch 4K display or a custom-tuned line array gets the spotlight. But the actual heavy lifting happens inside the rack room. Crunchy Tech treats the state of a server closet as a health check for the entire building’s technology.
A reliable system requires, among other things, a strict commitment to thermal management, signal integrity, and physical organization. When a rack is thought of as a secondary priority, the likely outcome is a fragile ecosystem that is difficult to service and prone to overheating.
Our team builds maintainable environments where every cable has a documented purpose and a clear path in order for the hardware to perform exactly as advertised.
Keep reading for an exhaustive guide on AV rack cable management and organization.
The Hidden Cost of the Spaghetti Cabling Nightmare
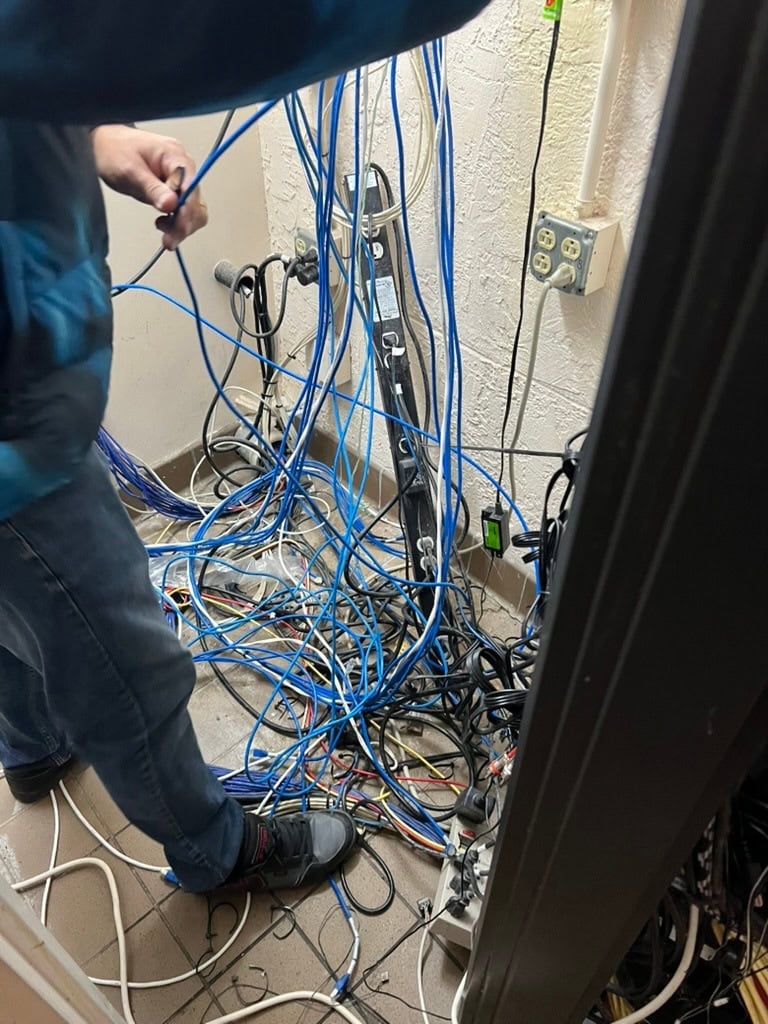
An AV system that is installed without a firm commitment to organization creates a ‘technical debt’ that eventually must be paid, and it’s usually at the worst possible time.
DIY attempts or low-budget installs focus entirely on the “ends” (making sure the screen turns on) while neglecting the “means” (how the signal gets there). Inevitably this haphazard approach leads to a cluttered environment; a functional liability that compromises the very hardware you paid for.
Heat is the silent killer of expensive hardware
Electronics generate heat, and high-performance AV servers generate a lot of it. In a disorganized rack, tangled cables block the natural and forced airflow patterns designed by equipment manufacturers.
When hot air cannot escape, it creates localized hot zones that bake sensitive internal components. Apart from causing occasional glitches, it physically degrades the lifespan of your processors and power supplies, leading to premature hardware failure that could have been avoided with a few dozen Velcro straps.
The troubleshooting tax on your bottom line
The most expensive hour in the AV industry is the one spent by an audiovisual technician trying to figure out where a single cable goes. In a spaghetti rack, a deceptively simple issue – like a loose network connection – morphs into a forensic investigation.
- Time loss: Technicians must manually trace cables through a bird’s nest of wires.
- Collateral damage: Moving one cable in a tangled mess often accidentally dislodges another. It creates new problems while trying to fix the old ones.
- Service costs: You end up paying for hours of cable hunting instead of actual technical repair.
The physical fatigue of poorly managed copper
As noted by AVIXA, cable care is a fundamental habit that protects the entire signal chain. When cables are stuffed into a rack without proper support, the weight of the cable trunk pulls directly on the connectors.
Over time, this stress causes internal wire fatigue and puts leverage on the ports of your expensive switchers. A clean cable wrap and proper strain relief make sure that the physical connection remains as solid on day 1,000 as it was on day 1.
How to Organize and Manage AV Rack Cables: The Professional Standard
Pulling off a clean, functional rack requires a strategic approach that begins before the first piece of hardware is even unboxed. You must think of cable management as a core engineering task rather than a finishing touch.
This way, you can be assured the system remains reliable, cool, and easy to service for years to come. The following steps outline the essential techniques for organizing a professional-grade rack environment.
1. Map the signal flow before the first cable is cut
A successful build starts with a clear plan for where every wire enters and exits the rack. Grouping equipment by function – such as placing all audio processors in one block and network switches in another – naturally creates shorter, cleaner cable runs.
Utilizing vertical lacing bars for the long runs entering from the ceiling, combined with horizontal managers between equipment, prevents patch cables from obscuring status lights or blocking critical airflow.
2. Maintain strict separation between power and data
Industry standards dictate that high-voltage AC lines and low-voltage data lines should never run in a tight, parallel bundle. This separation is critical to prevent Electromagnetic Interference (EMI), where the electrical field from a power cord “bleeds” into a nearby data line.
If these cables must cross, they should do so at a 90-degree angle to minimize the surface area where interference can occur.
Dedicated pathways (typically power on one side of the rack and data on the other) create a physical buffer that preserves signal purity and prevents digital noise.
3. Use hook-and-loop fasteners
Securing cables is a balance between stability and safety, where the choice of materials can dictate the long-term health of the copper. You can use plastic zip-ties as they are common, but make certain that they are not overtightened, biting into cable jackets and damaging internal wire pairs.
Hook-and-loop fasteners (Velcro) are the professional standard because they provide a secure hold without the risk of compression or permanent jacket deformation.
4. Implement a comprehensive labeling system at both ends
A rack without labels is a black box that is nearly impossible to troubleshoot under pressure. Every cable should be tagged with a unique identifier near the connector at both the rack side and the device side. This roadmap enables technicians to identify the source and destination of a signal instantly, which is critical for remote support and fast hardware replacements.
5. Respect the minimum bend radius for fiber and copper
Data travels through copper and fiber at incredibly high frequencies, and sharp bends can physically change the electrical or optical properties of the wire. In fiber optics, a sharp bend causes “refractive loss” where light leaks out of the core, while in copper, a kink creates “return loss” that reflects signals back to the source.
Cables should always maintain a natural, stress-free curve as specified by the manufacturer.
6. Comb your cables to eliminate internal tangles
Before fastening a bundle, cables should be combed by hand so they run parallel without crossing over one another. This eliminates internal “bird-nesting” within a bundle, making it possible to trace or pull a single line out later without having to dismantle the entire vertical run. A combed bundle also sits flatter against lacing bars, saving valuable depth inside the cabinet.
7. Utilize service loops for future maintenance
Leaving a “service loop” – carefully measured slack neatly coiled and hidden – at the entry point of the rack or behind a piece of equipment is very important. This provides enough ‘give’ to pull a device out of the rack for cleaning or repair without having to disconnect it from the network.
Without these loops, the cables act as an anchor, putting immense strain on ports when hardware is moved.
8. Transfer cable weight to the rack frame
Every cable should be secured so that the rack frame supports the weight of the wire rather than the port on the back of the device. When heavy bundles hang directly from a switch or processor, the constant downward tension can lead to intermittent signal drops and eventually physical port failure.
9. Master the over-under wrap for external lines
As mentioned, good cable care is a fundamental habit that protects the entire signal chain. Utilizing the over-under method for cables that are frequently moved or used in staging prevents the internal wire from developing memory that leads to kinking.
This technique ensures the cable lies flat when unrolled and stretches the lifespan of essential tools by preventing internal copper fatigue.
10. Document the rack with as-built drawings
Once the physical management is complete, the final step is creating a digital twin of the rack. An “as-built” drawing should reflect the final port assignments and cable ID numbers used in the install.
This documentation serves as a master blueprint for the system for any future technician (yes, even one who has never seen the rack before) to be able to navigate the system with 100% accuracy.
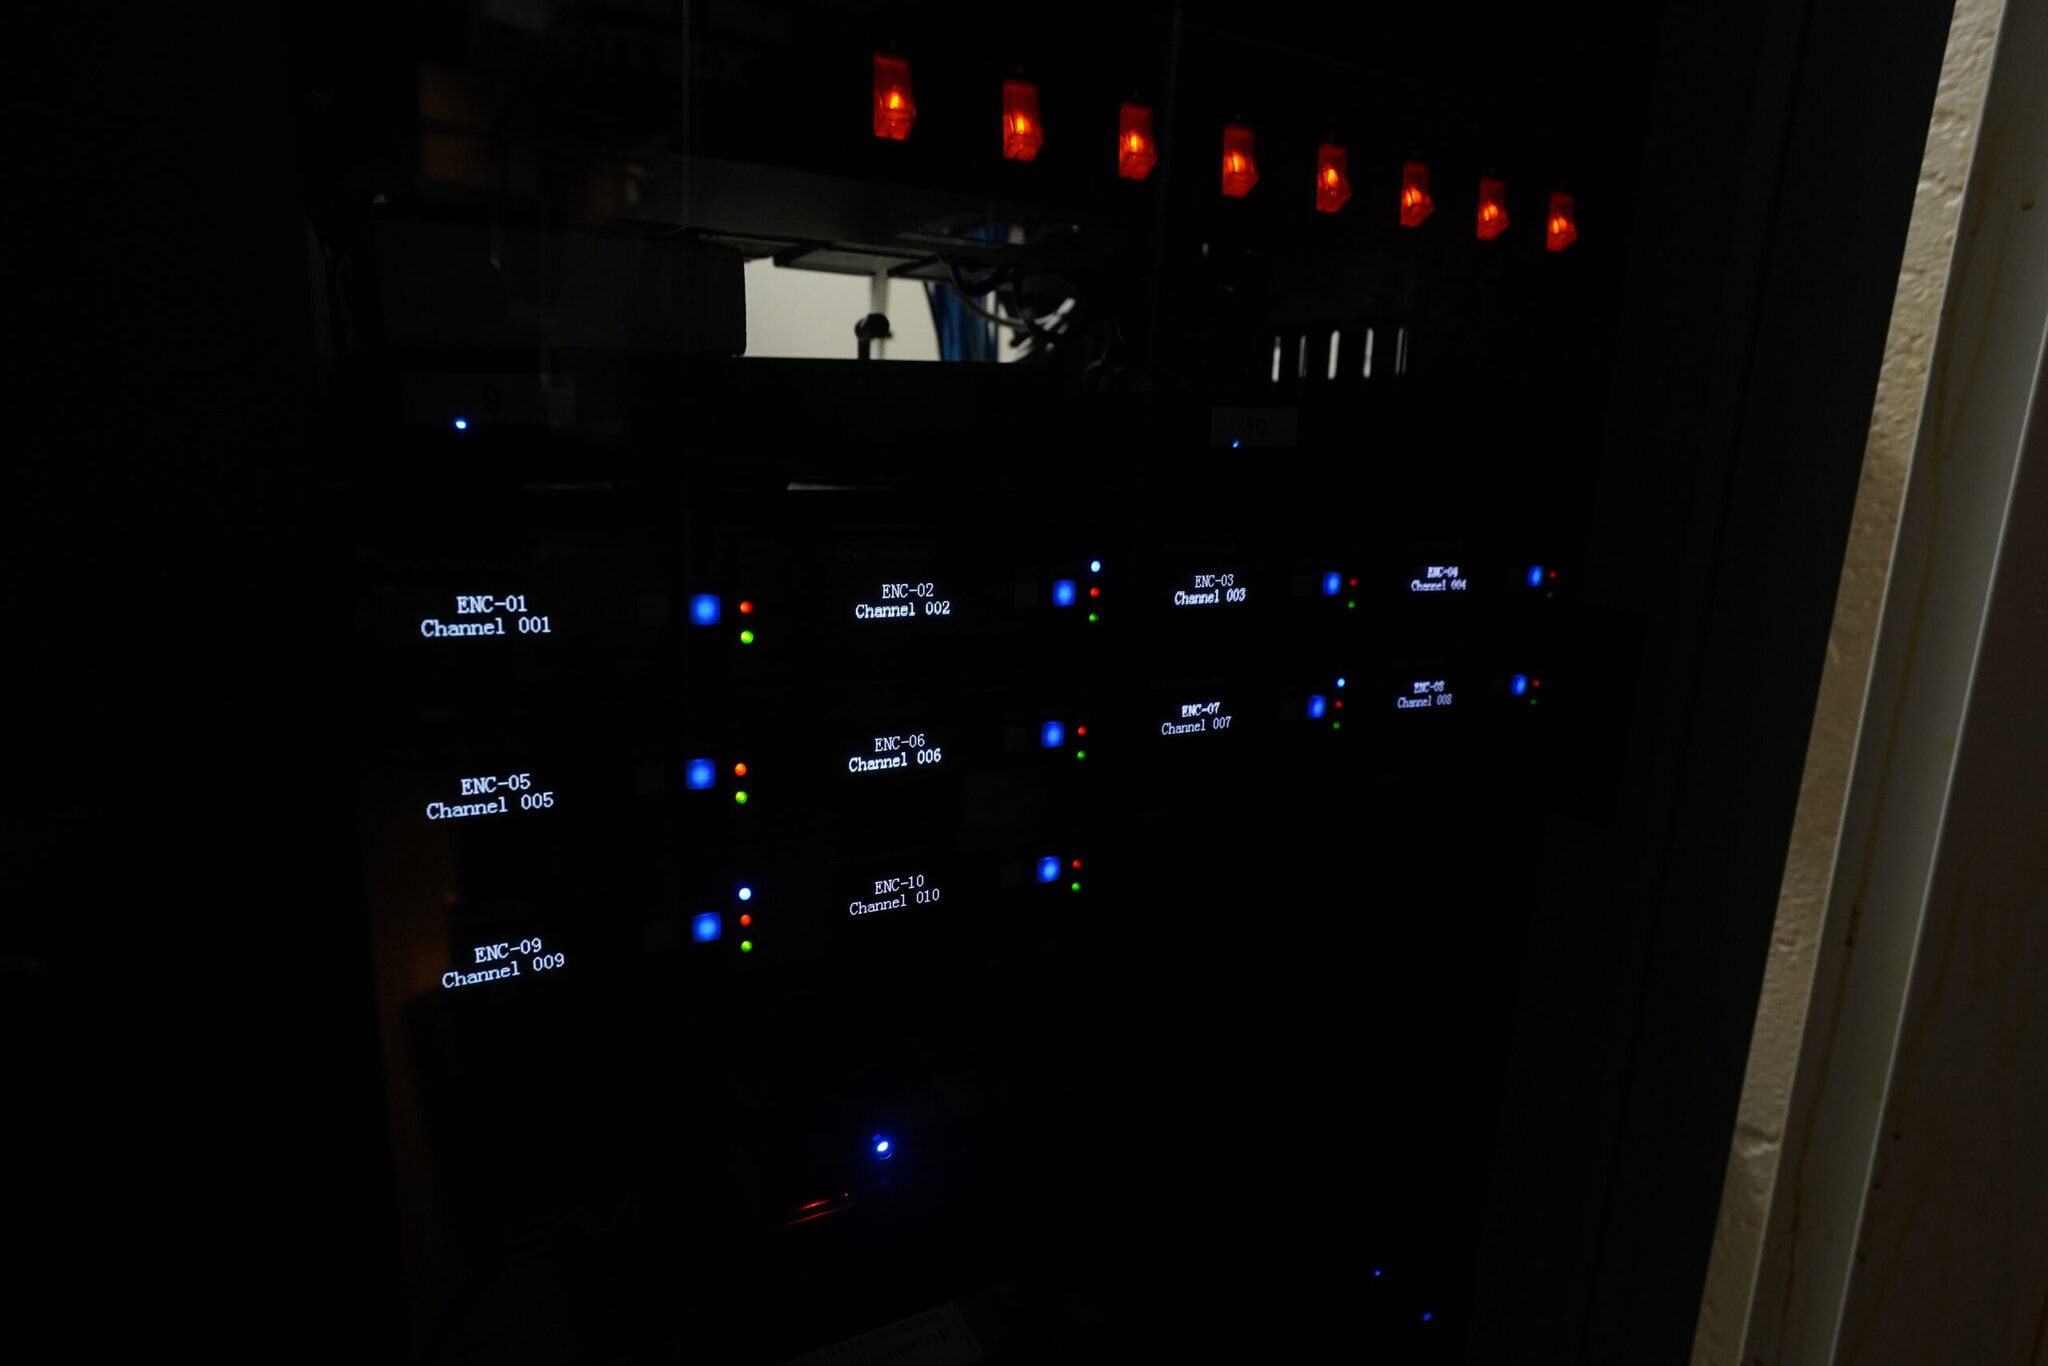
The Power of Labeling and Documentation
A professional AV rack should never be a mystery. If a technician or an IT manager walks into the room they should be able to identify every point of failure within seconds. This is where the distinction between a “finished” job and a “professional” job becomes clear.
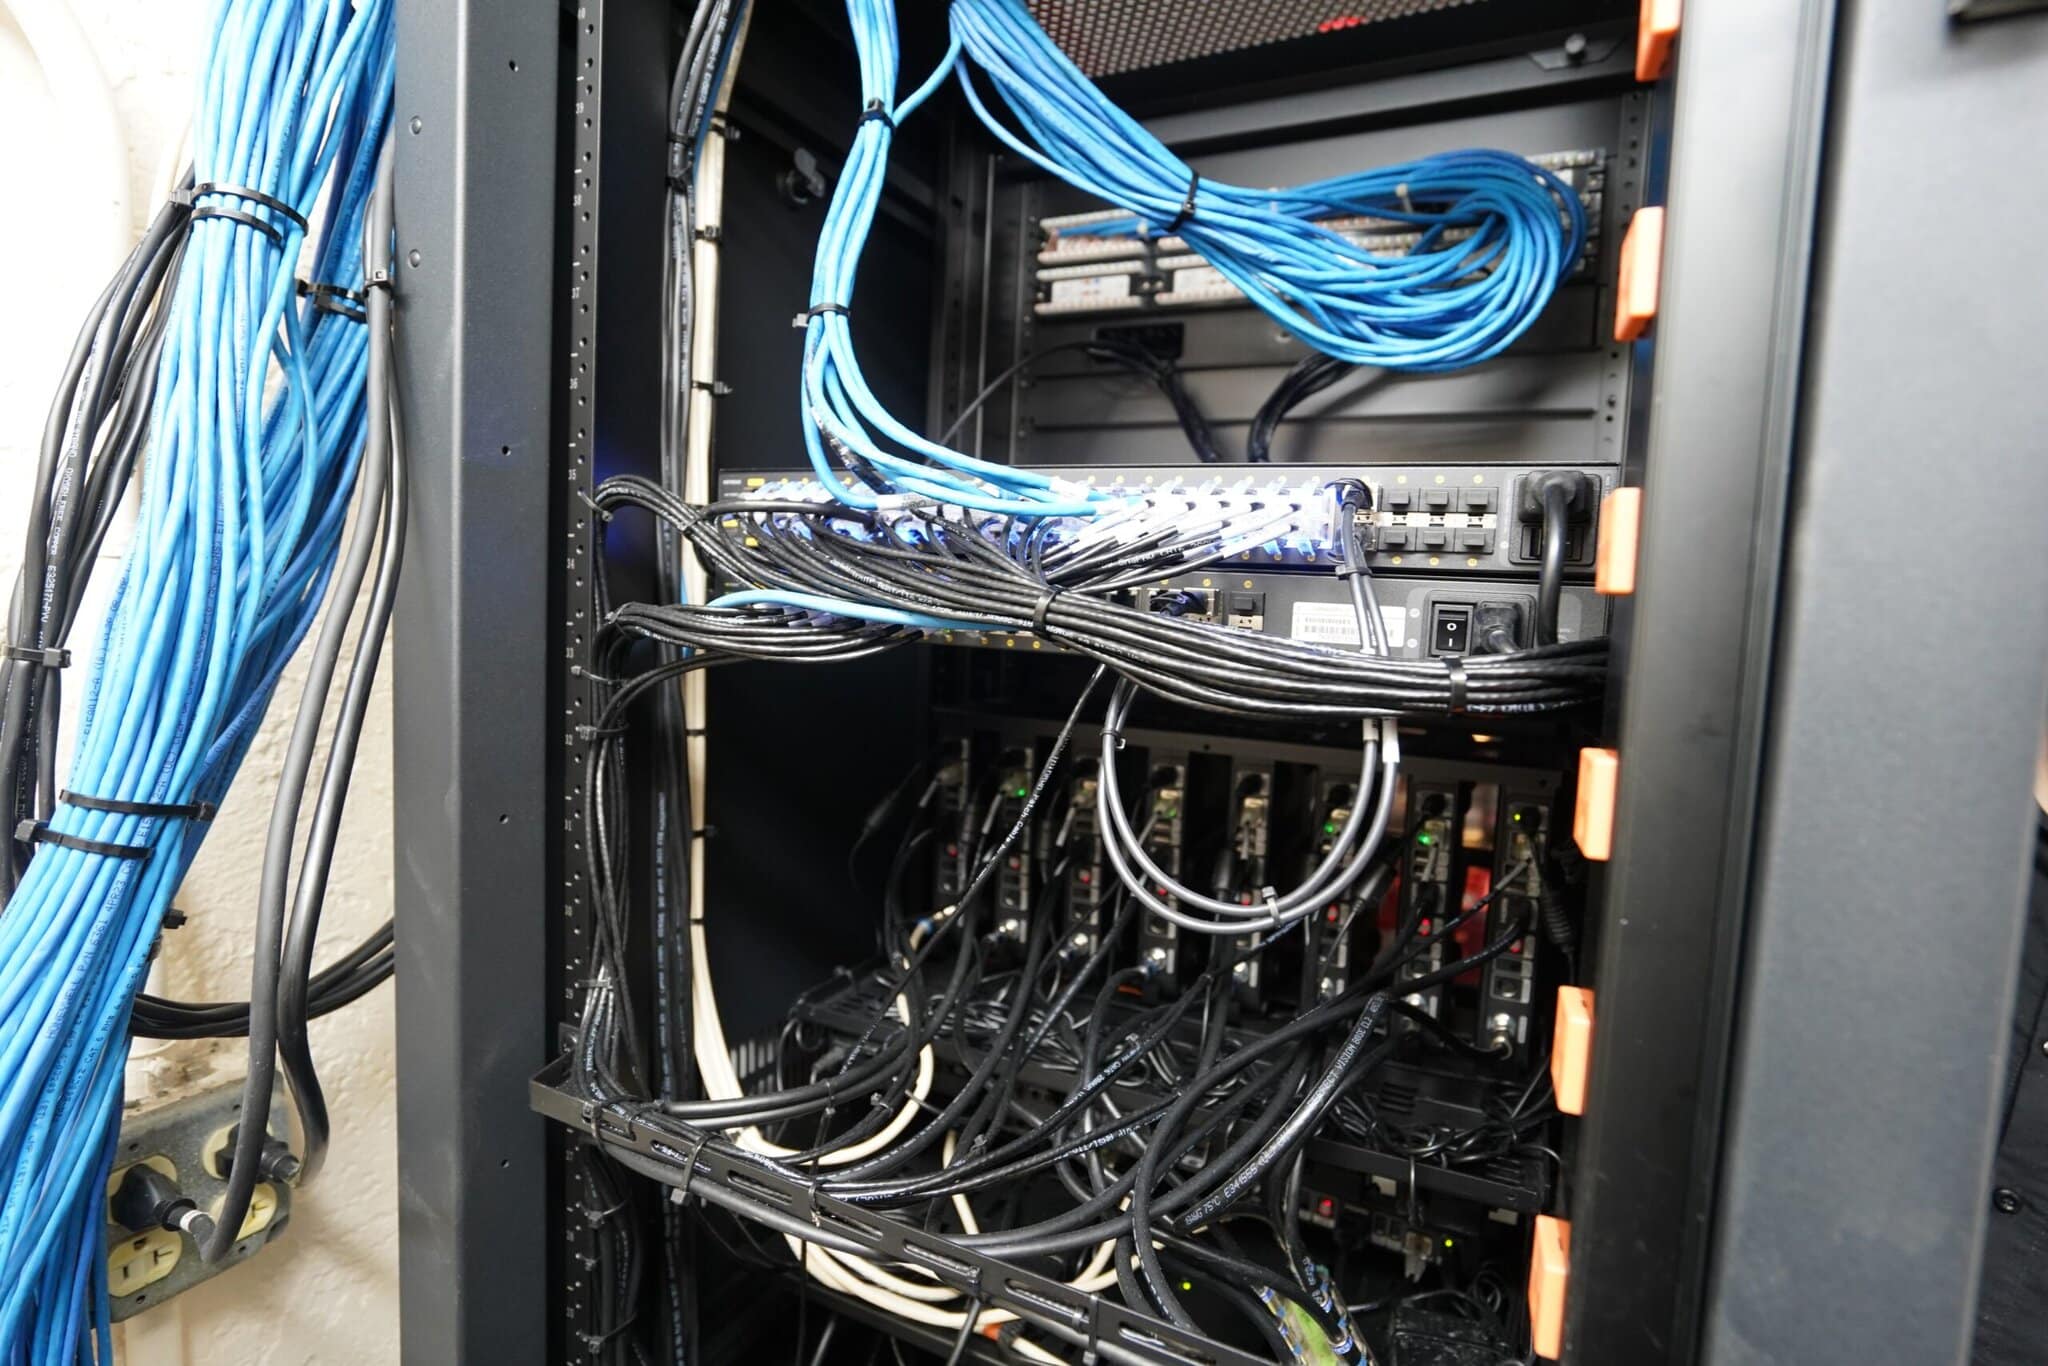
The network cable roadmap
Every single Cat6 or fiber optic line in a Crunchy Tech install is tagged with a unique identifier at both ends. As opposed to simply labeling the patch panel, we label the cable itself near the connector.
Cases in point:
- Precision Identification: If a specific wireless access point goes offline, the label tells you exactly which port on the switch provides its data and power.
- Color-Coded Logic: We often utilize specific cable colors for different signal types – blue for data, white for VoIP, and green for security – to provide an instant visual status report of the rack.
- Remote Support Efficiency: When you call our support line, we can walk you through a power cycle by referencing a specific labeled cord to save you from the frustration of guessing which plug belongs to which device.
Digital documentation and as-built drawings
Beyond physical stickers, a truly organized room has a digital twin. We can provide “as-built” documentation that serves as the master blueprint for your AV environment. This includes a signal flow diagram that shows how audio and video travel from the source to the output.
If you ever decide to expand your office or upgrade your hardware, these drawings prevent us from having to re-learn your system, which keeps your future labor costs lower.
Future-Proofing Through Scalability
The only constant in technology is change.
A rack that is maxed out on day one is a rack that will entail a costly overhaul the moment you need to add a new camera or a new video source. A good AV integration company looks three to five years into the future. They make sure the infrastructure can handle the next wave of innovation.
Room to grow without the mess
We intentionally design racks with expansion gaps. This isn’t wasted space but a strategic buffer. By leaving 1U or 2U of space between high-heat components and reserving open slots in the patch panels, adding new capabilities becomes a plug-and-play process rather than a rip-and-replace disaster.
Standardized parts for easy replacement
When we use consistent mounting hardware, power supplies, and cooling fans, we create a predictable environment. If a cooling fan eventually wears out after years of service, our technicians know exactly what part is needed before they even arrive on-site.
This standardization eliminates the one-off custom fixes that often lead to messy, disorganized racks over time.
Stop Paying for Technical Debt and Start Scaling.
An organized AV room is a reflection of how a company values its technology investment. It is the difference between a system that lasts for a decade and one that turns into a source of constant exasperation and hidden service fees.
Prioritizing cable integrity, logical labeling, and thermal management is how Crunchy Tech ensures your hardware performs at its peak every time you hit Power On.
Bottom line: don’t let a DIY spaghetti rack derail your productivity. Reach out to Crunchy Tech for a full system audit and consultation, and let’s get your rack room back to a professional standard.