Most restaurant owners we talk to want the same thing: get the menu up on a TV or a digital screen, make it look good, hassle-free and easy to change. And yes, it’s doable. You just need the right setup.
Paper menus wear out. Specials change. Prices move. A digital menu lets you stay on top of all that without reprinting anything or climbing on a step stool to swap signs.
This guide walks you through using TV for menu boards. From what gear to buy to how to keep it running smooth every day – straight from folks who install restaurant audiovisual systems for a living.
What You’ll Need for Your Restaurant menu
Before you mount anything to a wall, you’ve got to know what gear you’re working with. This isn’t a complicated setup but buying the wrong stuff or skipping steps will come back to bite you.
Here’s what you actually need to display your restaurant menu on a TV, and why each part matters.
Hardware You Need
1. A TV
Yes, any flat-screen will technically work. But commercial-grade digital displays are built to run longer, brighter and don’t burn out after 6 months. If you’re mounting above a counter or near a window, go brighter. If it’s outdoors, make sure it’s weather-rated.
Don’t skimp here. This is what your customers are staring at.
2. A Media Player
You’ll need something to push menu content to the screen.
Basic setups can use a Fire Stick or Chromecast.
More stable setups use Android media boxes or a digital signage player like BrightSign.
Pro-level setups (especially for multiple TVs) run best with Chromebox or purpose-built players from your signage software.
3. Mounts + Power
Make sure your TV display is angled right. Customers shouldn’t have to crane their necks. Run power cleanly behind the wall if possible.
And for the love of everything fried, use surge protection. You don’t want a summer lightning storm knocking out your menu screens.
Software You Need
1. A Digital Signage Platform
This is the brains behind the operation. A digital signage platform lets you upload your menu, schedule changes and push updates from anywhere. Crunchy Tech can set you up with one tailored to your needs.
2. A Content Management System (CMS)
Most signage platforms include a CMS. This is where you design and organize your digital TV menu board, schedule content by time of day and make real-time changes when needed (like 86-ing the fish tacos).
3. Cloud or Local Setup
Local systems still work if your internet goes down. Some media players even cache content as a backup. Cloud-based systems mean you can update your menu from your phone while waiting in line at Publix.
Step-by-Step: How to Set Your Digital Menu board Up
Got your TV menu display, media player, and software ready to go? Now let’s walk through how to pull it all together and get your menu live. Whether you’re running a single screen or setting up a fleet of TVs across your dining area, this process holds up.
Step 1 – Design Your Menu
Before anything hits the screen, you need a menu design that works on a screen. That means:
- Big fonts all ages can read from 10 feet away
- High contrast (think white text on black or dark text on white)
- Clear sections for categories, prices, and specials
- Room to breathe; don’t cram everything in like it’s a takeout flyer
Pro tip: Keep animations minimal. A little motion is fine for highlighting a new menu item, but if everything moves, nothing stands out.
Step 2 – Upload to a Digital Signage Platform
Once your menu is designed (JPEG, PNG, or even a video loop), log in to your restaurant digital signage solution.
- Use their drag-and-drop editor or upload custom content
- Arrange screens by time of day: breakfast, lunch, dinner
- Create playlists or schedules so content rotates automatically
If you’re using Crunchy Tech’s recommended platform, we’ll even preload your menus and scheduling for you. No guesswork.
Step 3 – Connect Your TV to the Media Player
Now it’s time to bring it to life.
- Plug the media player into your smart TV via HDMI
- Power it up and connect it to Wi-Fi or ethernet
- Launch your digital signage software and link your account/device
Make sure your TV is set to the right input, and if possible, enable auto-start so it boots straight into your menu if there’s ever a power outage.
Step 4 – Schedule and Publish
Here’s where the magic happens:
- Set your menu to change based on time of day
- Add limited-time items or promotions that run during specific hours
- Hit publish and check the live display to make sure everything looks good
Double-check for typos, spacing issues or anything cut off at the edges. You’d be surprised how often folks forget to preview.
Pro Tips for Running a Smooth Digital Menu Setup
Once your menu is live, your job isn’t totally done. There are a few small decisions that can save you from major headaches down the line. These are the kinds of things we’ve learned the hard way after installing digital menus in everything from food trucks to beach bars.
Set everything to auto-start after a power loss
Not all TVs and media players automatically turn back on when the power goes out. Check your settings. You want your menu back up and running without a single button press. Florida storms don’t wait for IT support.
Use portrait orientation for tight spaces
Mounting a TV vertically can work wonders if your space is narrow or you want a clean, modern look. Just make sure your content is designed for it. Rotating a horizontal JPEG won’t cut it.
Don’t overload the Wi-Fi
If your media player is relying on a weak Wi-Fi signal that’s already maxed out with customer traffic, you’re asking for trouble. Either hardwire the connection or use a separate network dedicated just for signage.
Keep a USB backup of your latest menu
Internet goes down, signage platform crashes, media player forgets its job. Doesn’t matter. Plug in the USB and stay in business. That one little stick can save your lunch rush.
Limit motion and transitions
Yes, animated menus look slick. But too much movement becomes distracting. Use subtle fades or slides. Not spinning graphics or bouncy text. You’re a restaurant, not a slot machine.
Check screen glare
You’d be surprised how many menus are installed in spots where sunlight or overhead lights make half the screen unreadable. Test it throughout the day. Adjust the angle or use an anti-glare screen if needed.
These tips don’t cost much. But they make a big difference in day-to-day operation. You’ll thank yourself next time the power flickers, the lunch line builds up, or someone tries to change the menu from their phone.
Common Mistakes to Avoid
We’ve seen all kinds of setups in the wild. Some good, some great, and a few that made us shake our heads. If you want your digital menu display to work like it should (and not just look pretty for a day), steer clear of these common screw-ups:
Using a slideshow instead of a proper signage platform
Looping a PowerPoint or JPEG slideshow on a USB stick might seem like a shortcut. Until you need to change a price or your breakfast menu is still running at 3pm. Don’t wing it. Get real software built for this.
Fonts too small to read from the counter
We’ve said it before, but it’s worth repeating: if people have to squint, you’re doing it wrong. Your menu should be readable from where your patrons and new customers are ordering. Design for distance, not just up close on your laptop.
Mounting the TV too high or at a weird angle
Space can be tight. But hanging your menu so high it gives people a neck cramp? Definitely not great for business. Mount it at a comfortable eye level, angled slightly down if needed. Form and function.
Cramming everything into one screen
Don’t try to fit your entire dine-in, to-go, drinks and dessert menus onto one screen with 6-point font. Break it up. Rotate between categories. Let items breathe. Cluttered menus confuse people. And confused people don’t order fast.
Forgetting to test before launch
Always, always preview your setup on the actual screen before going live. Stuff looks different on a 50″ screen than it does in Canva or PowerPoint. Check for cutoff text, weird scaling or timing issues in your content loop.
Treating it like a “set it and forget it” deal
A digital menu is a living, breathing part of your business. Update it, tweak it, test what works. Don’t just install it and walk away for the next three years.
When to Call in the Pros for Your TV Screen Menu Setup
Some setups are simple enough to DIY. One screen, one menu, one location? You can probably handle that with a solid Wi-Fi connection and a bit of patience.
But once things get a tad more more complicated, it’s only wise calling in a team that’s done this before. Here’s when you want to bring in AV restaurant experts:
You’re running multiple screens
Got a different menu for food, drinks and promotional materials? Maybe you’re using TVs to show live games and rotate through your specials? You’ll want a restaurant digital signage system that can zone content, sync timing and keep everything appearing sharp without you babysitting it.
You’ve got more than one location
Managing screens across three restaurants in three cities isn’t something you want to do manually. We’ll set up cloud-based control so you (or your marketing team) can make one change and push it everywhere instantly.
You want your menu to do more than just display food
Want a QR code for online ordering? Promo videos between lunch and dinner? Live game schedules next to your happy hour board? That’s all practicable. But pulling it off cleanly takes the right backend setup and screen layout.
You’re integrating with your POS or kitchen systems
Yes, you can link your menus to your POS or back-of-house software. Yes, it can update items automatically based on availability. But it’s not plug-and-play; this is where the right AV integration makes tremendous difference.
Bottom line: if you want a setup that just works, with zero guesswork and no “why is the menu frozen again?” moments, our restaurant AV specialists can build it, wire it and hand you the keys.
Restaurant TV Menu Board: Real-World Examples
You don’t have to imagine what this looks like. We’ve seen it done every which way. Whether you’re running a packed sports bar or a single-screen sandwich joint, restaurant menu boards can flex to fit your vibe and space.
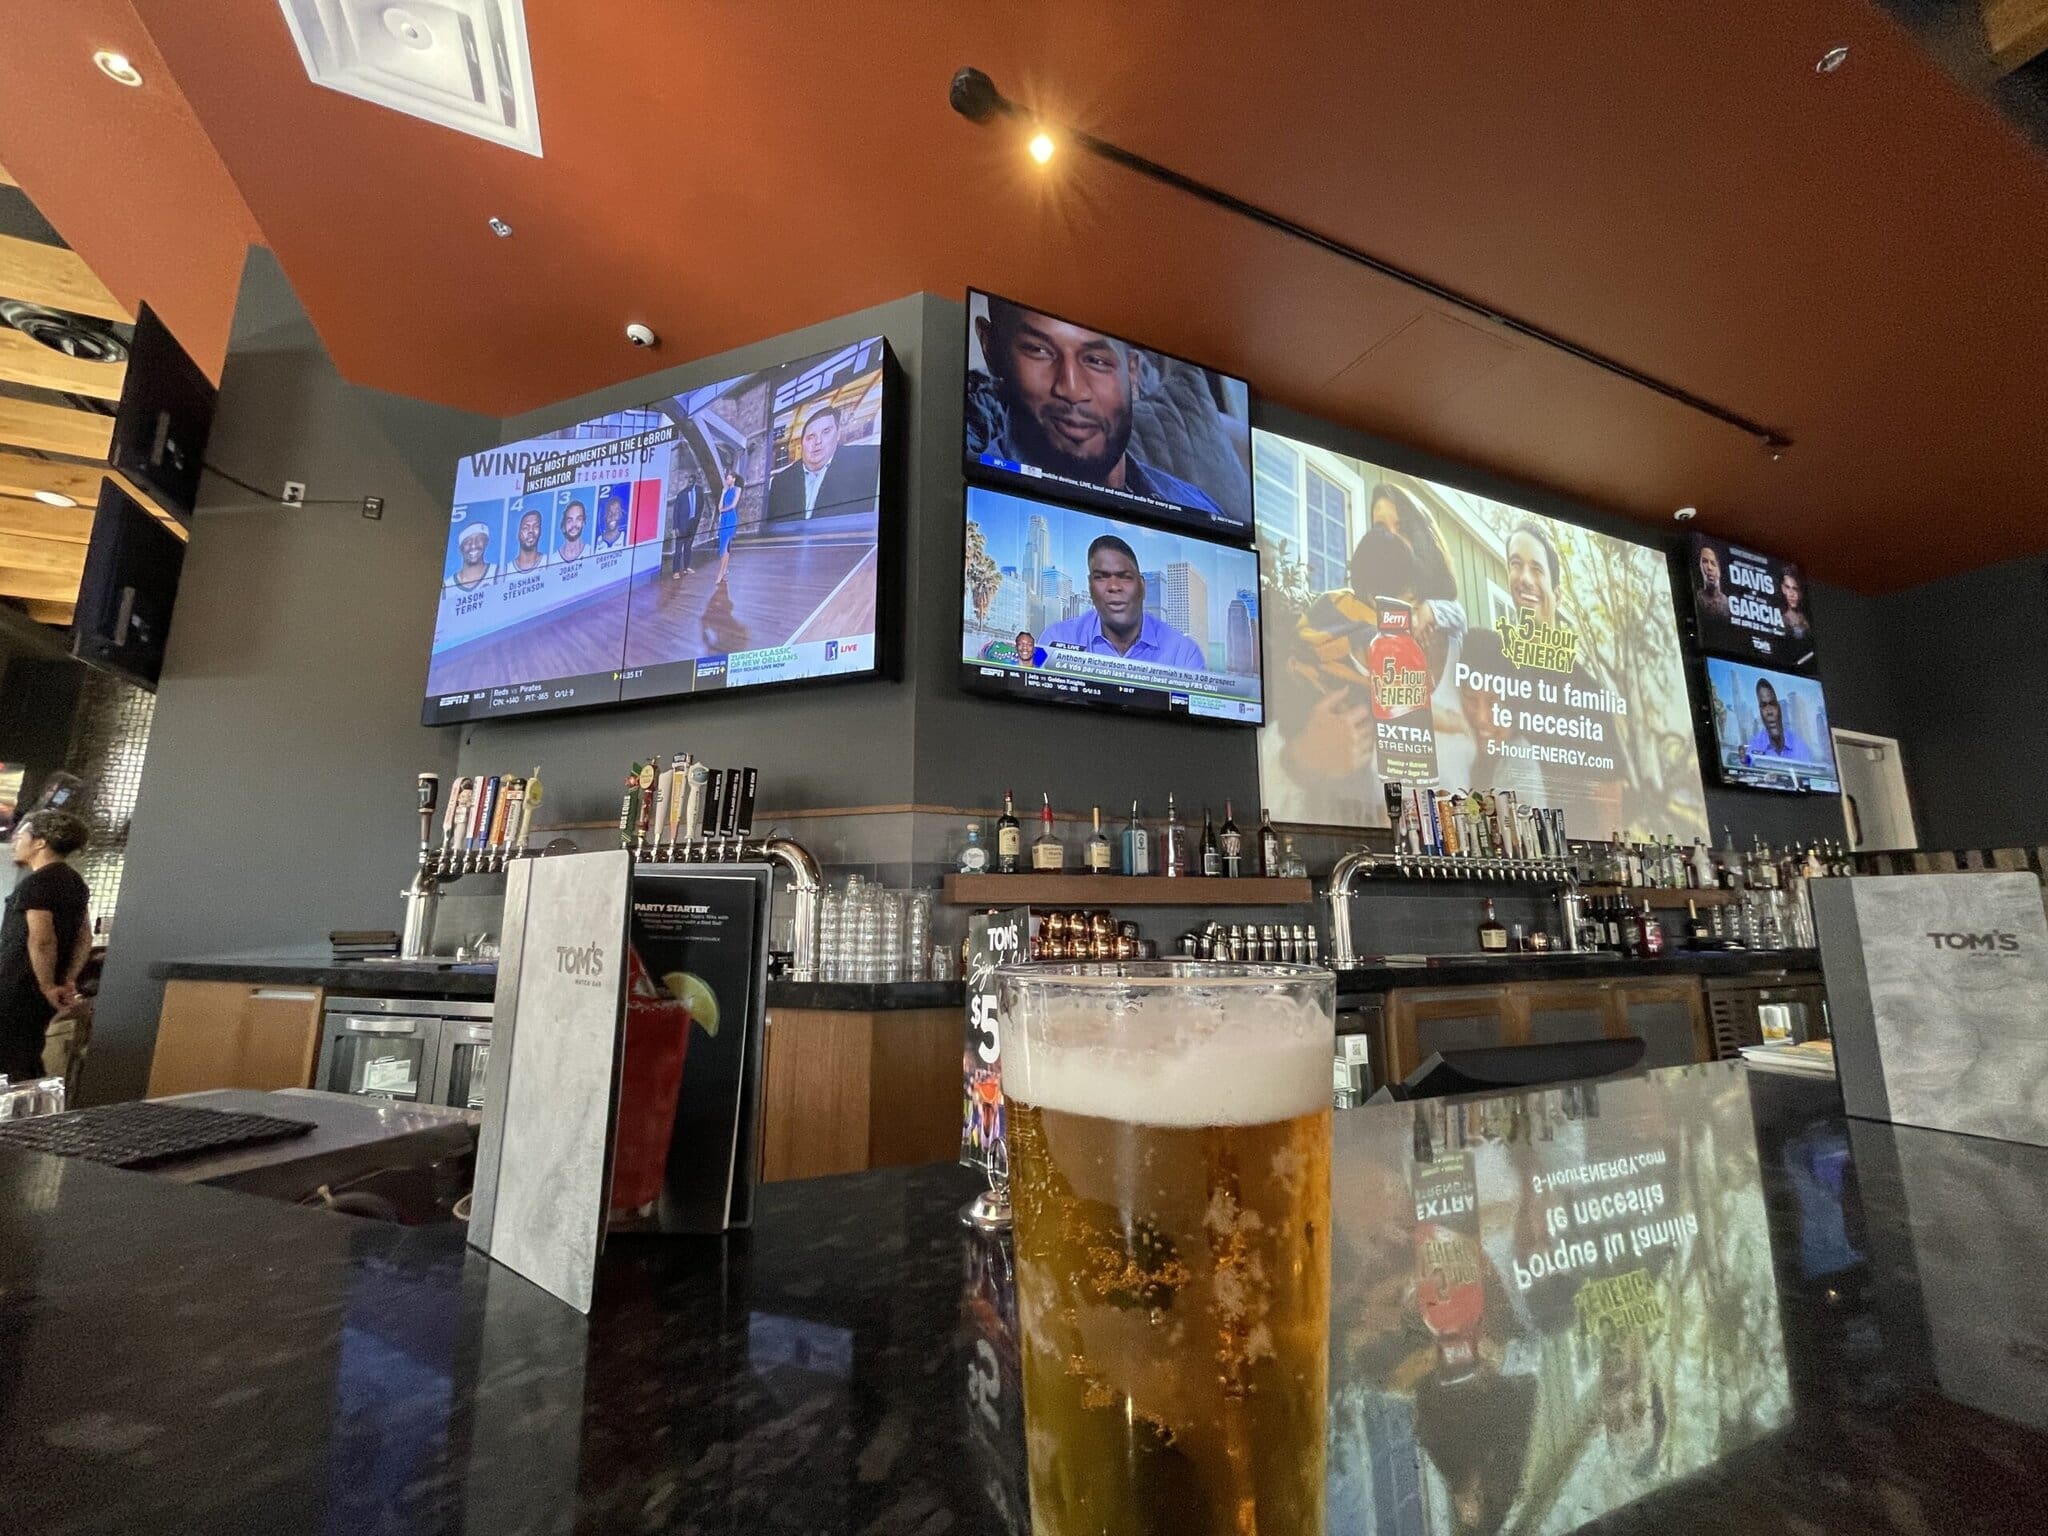
1. The Sports Bar Triple-Play
Three wall-mounted TVs over the bar: one showing food, one showing drinks and the third flipping between rotating promos and upcoming game schedules. When it’s game day, the middle screen can switch to ESPN in two taps: menu slides out, kickoff rolls in.
2. The Food Truck with Attitude
A weatherproofed 43″ outdoor TV mounted above the service window, running off a compact digital signage player tucked behind the counter. Menu rotates between daytime lunch options and evening street food specials. It auto-updates via mobile hotspot. Even when they’re parked in the middle of a brewery lot.
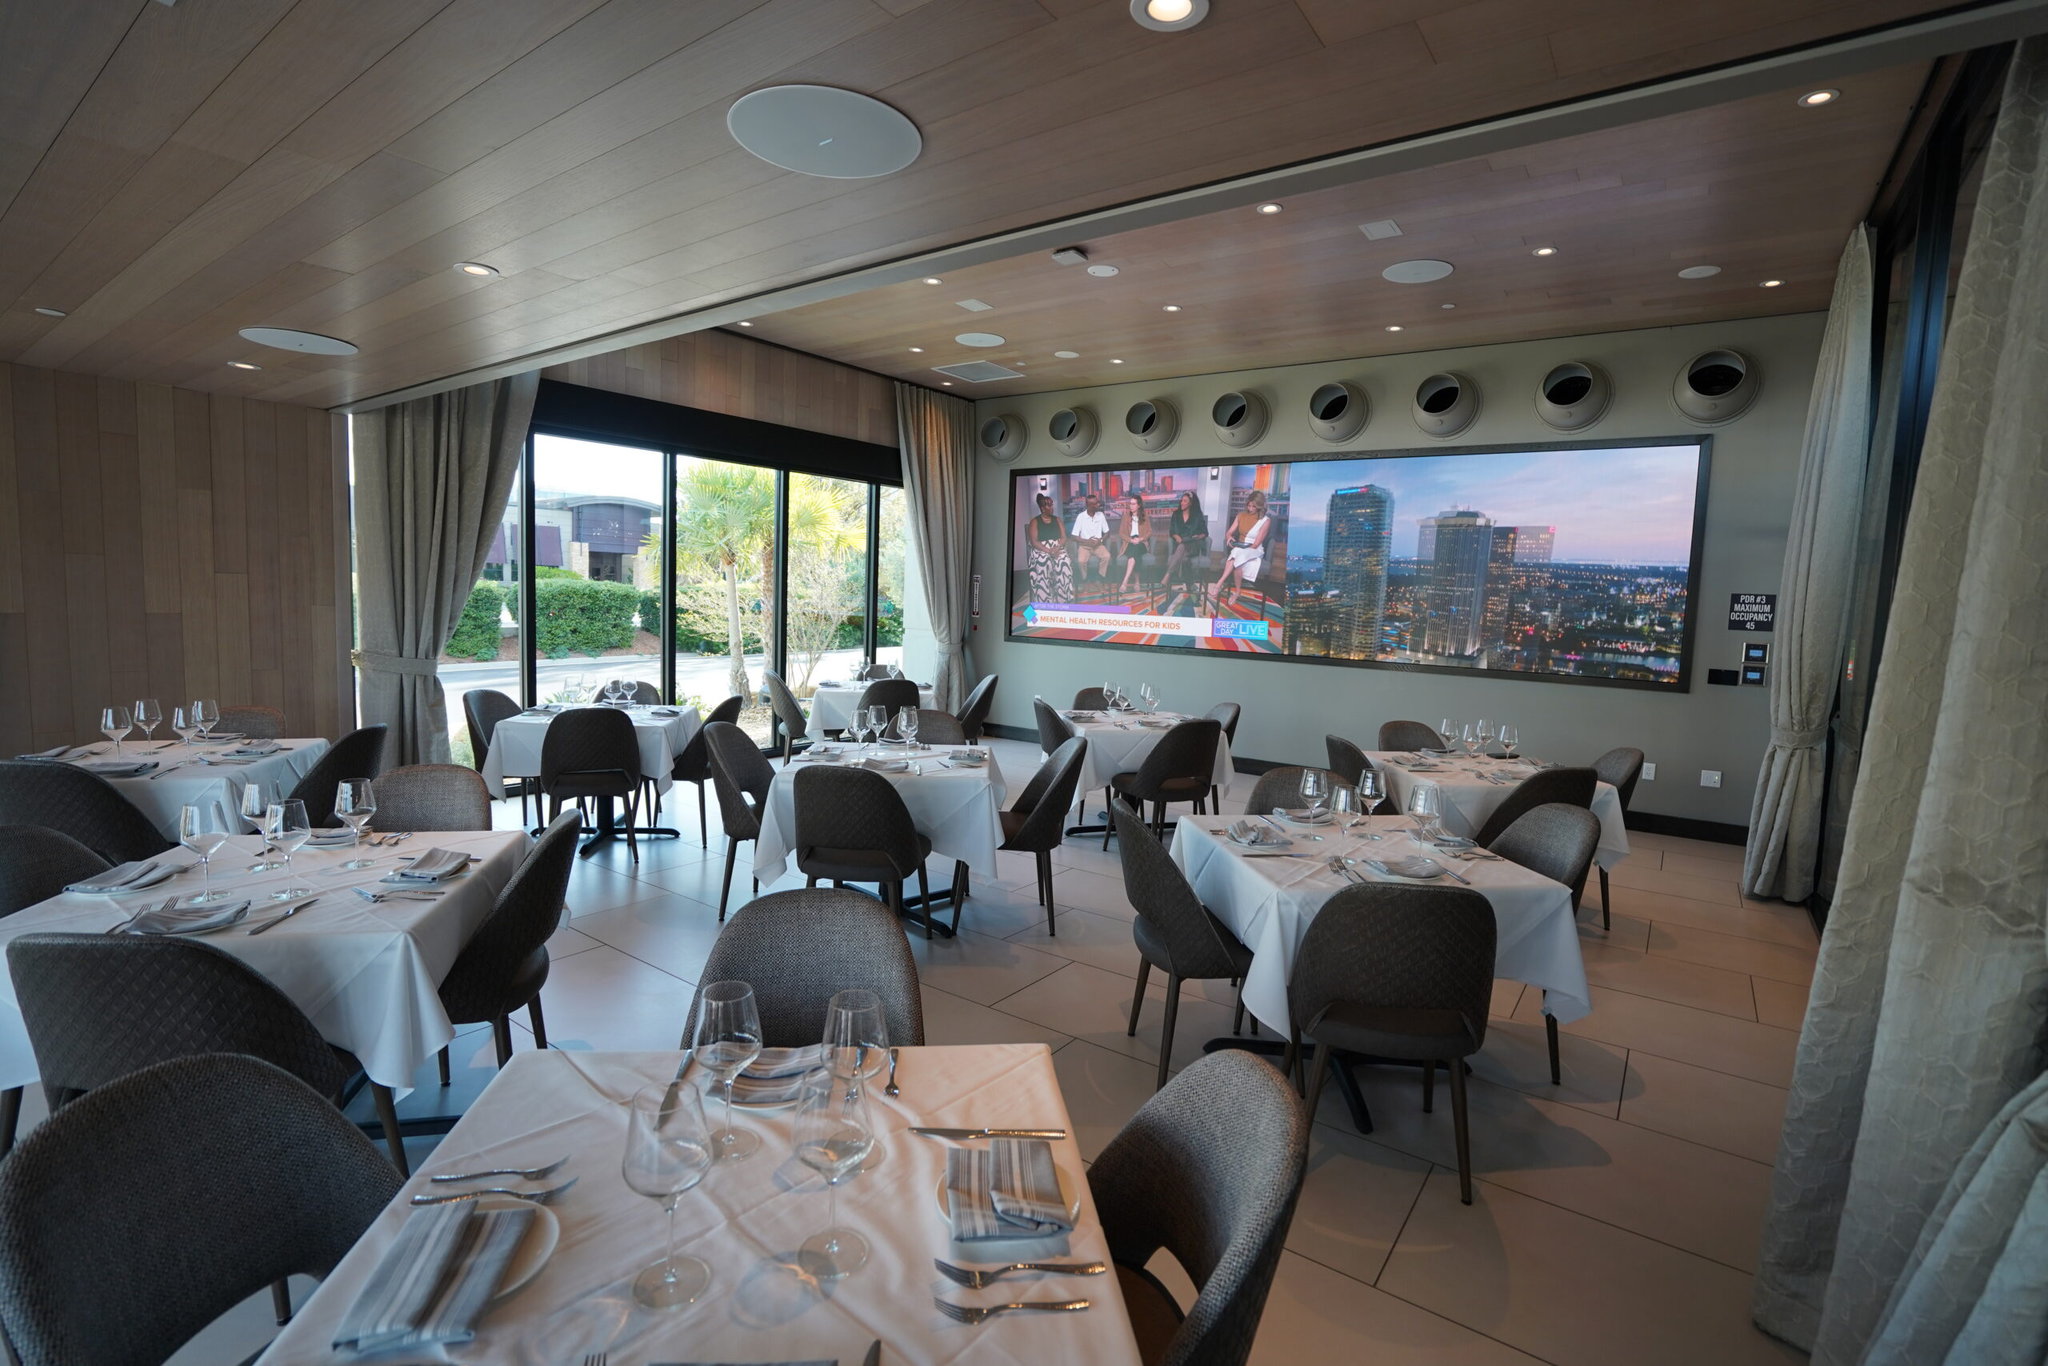
3. The Upscale, Minimalist Setup
One ultra-thin 4K screen mounted portrait-style near the host stand, showing a rotating chef’s menu with beautiful high-res images. No pricing, no clutter. Only elegant transitions and real-time updates from the manager’s tablet when a dish runs out.
4. The Fast Casual Chain That’s Got It Together
Every location uses the same TV menu layout. But pricing and specials are managed locally. HQ pushes seasonal promos to all stores, while individual managers can swap out items based on local supply. All screens update overnight. No one has to do anything during a noon rush.
Maintenance and Updating Best Practices
Even the best setup will start to slip if you don’t stay on top of it. The beauty of a digital menu is flexibility. But that only works if someone is actually using it. So here’s how to keep yours sharp, fast and problem-free.
Update your content regularly
Menus change. Prices go up. Specials come and go. The worst thing you can do is let your digital board sit unchanged for six months. Assign someone to review it weekly. Even just a five-minute check can save you from showing outdated pricing or sold-out items.
Keep someone responsible
Don’t make this an “everyone’s job.” Give one person ownership, even if it’s just your shift lead or manager on duty. They don’t need to be a tech wizard. Just someone who knows how to log in and make a quick update as necessary.
Schedule regular reboots
Some TVs and media players start acting weird after running nonstop for weeks. Set a reboot schedule (say once a week at 3 a.m.) so everything stays smooth. Most platforms and players allow auto-rebooting.
Test on different devices
Preview your content on both desktop and the actual TV it’ll show on. What looks fine on a laptop screen might be unreadable or off-center on a 55″ display. Make it part of your process before every new menu rollout.
Keep backup files handy
Whether it’s a flash drive or a folder on your desktop, keep a recent version of your menu stored locally. If your digital menu board software crashes or the internet drops out, you’ve still got something to load in quickly.
Monitor screen health
Check for burn-in, glitchy media players or screens that aren’t waking up properly after a power loss. Even commercial-grade TVs wear down over time. Better to spot it early than deal with a dead screen during a Saturday night surge.
You’re Set. Now Make It Work for You.
You’ve got the tools and the know-how. Now it’s just a matter of putting it all together and keeping it updated.
If you’re ready to stop fiddling with USB sticks or printing paper menus every time something changes, give us a shout.
We’ll help you get it installed, set up and running smooth, so you can get back to doing what you do best: serving up great food and even greater customer service.